
I’ve tried my hand at cake balls and cake pops a few times before, and I’ve never been completely satisfied with the result. For whatever reason, no matter what I do (aka follow the recipe exactly), I can’t seem to get the cake balls to stay intact long enough to coat them in melted chocolate or candy melts. After giving up on the cake ball phenomenon, I decided to give truffles a try. I started with the basic chocolate truffle, and graduated to the (barely more complicated) Oreo truffle. After feeling confident enough in those attempts, I decided to try something new.
The biggest problem I’ve had with the cake mix and frosting mixture, as I’ve said, is that it just doesn’t stick together. The frosting is sticky, but it just isn’t sticky enough. I’ve only had success when ingredients like cream cheese or peanut butter are involved. So, after thinking long and hard about what I could use as a bonding agent, I realized there was a simple solution: sweetened condensed milk! Not only would it add an extra sweetness, but it’s sticky enough to hold everything together without being over the top sticky, like some syrups. Enter the cake truffle!
On Wednesday at work, my (new) department decided to celebrate Festivus. This meant a White Elephant, an ordered lunch, and of course, treats! Since I’m known as the resident baker and food provider in the office, I figured this would be the perfect opportunity to try my truffle idea. You only need four ingredients, and everything comes together quickly. Sure, you have to spend some time waiting for the cake to harden so it can be shaped into balls and coated in chocolate, but I don’t mind the down time… it lets you do other things!
These are a perfect last minute dessert to take to a Holiday party, or something just to enjoy for yourself! These were such a success, I’m thinking I may have to make a few more batches to share before the year is up.
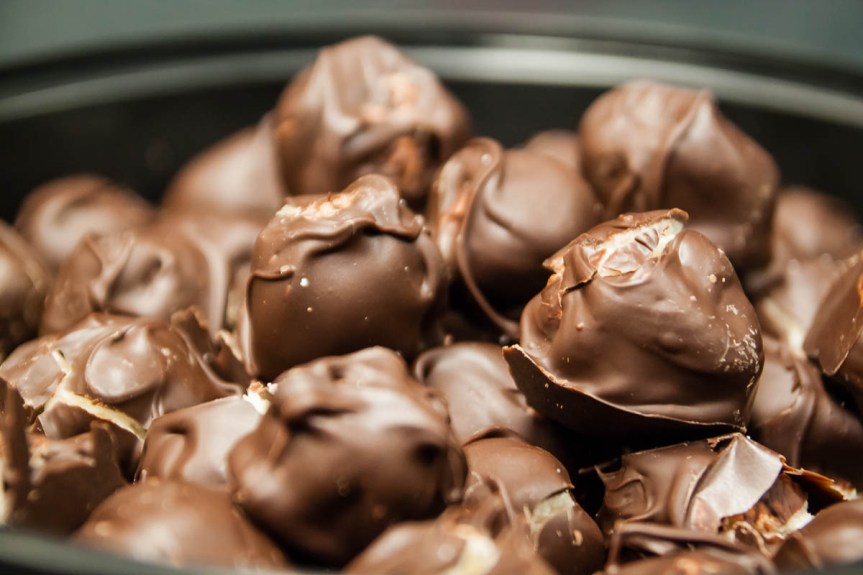
Vanilla Cake Truffles
– makes 30-40 truffles, depending on the size –
Ingredients:
2 cups of vanilla cake mix (I used French Vanilla)
½ cup + 1 Tbsp sweetened condensed milk
2 Tbsp vanilla extract
8 oz. package of semi-sweet chocolate chips
Directions:
1. Combine the cake mix, sweetened condensed milk, and vanilla extract in a medium-sized bowl. Make sure everything is well combined; the mixture should easily stick together.
2. Refrigerate the mixture for 15 minutes.
3. Using the chilled dough, shape them into balls, placing them onto a baking sheet lined with parchment paper. My truffles measured out to be about 1.5 teaspoons each. Of course you can make them smaller or bigger – it’s up to you!
4. Freeze the dough balls for another 15 minutes.
5. Melt the chocolate chips in the microwave in a glass bowl. Your time may vary (I like to do 1 minute, stir, and then do another minute).
6. Using two spoons, drop each dough ball into the melted chocolate, being sure to coat every side, scraping it along the edge as you finish. Lay them back on the baking sheet with parchment paper. Freeze for at least 15 minutes, and then refrigerate to keep intact until you’re ready to eat them!

