First up, the winner of my Oloves Giveaway thanks to Random.org is commenter #2: Lauren G.! Send me an e-mail with your shipping information and the olives will be on their way!
****
My favorite season is summer, and I have no problem admitting that each year as fall creeps up, I get a little sad. Sure, fall means apple picking, cider, cooler (but not cold) weather, pretty foliage, etc., but it means we’re that much closer to winter, which I dread. It probably doesn’t help that I’m not into the whole pumpkin obsession either (except for pumpkin beers) since I don’t really love the flavor. Despite my love affair with summer, I don’t loathe fall – I appreciate all the things that come with it, especially when it comes to food and fashion.
Even though peach season is almost over, it’s perfect weather for apples here in New Jersey. So my fresh box the last few weeks has included peaches and apples, resulting in an overflowing crisper drawer full of the two fruits. My sister is a baking fiend, and any time she’s home, she’s in the kitchen just throwing together desserts on a whim. While she was still home during the summer she made a phenomenal peach and blueberry crumble, so I decided to try an recreate it with peaches and apples.
I love cooking, but baking still intimidates me. Some people (like my sister) just have a knack for baking and can throw things together easily; that definitely isn’t how I roll. I’m extremely comfortable in the kitchen cooking savory dishes, but for whatever reason, baking requires a different level of confidence I just don’t have, so I rely heavily on recipes when it comes to baking. But this past Sunday, I went a bit out of my comfort zone and threw together this simple peach and apple crumble, that is perfect for breakfast, a snack, or dessert!
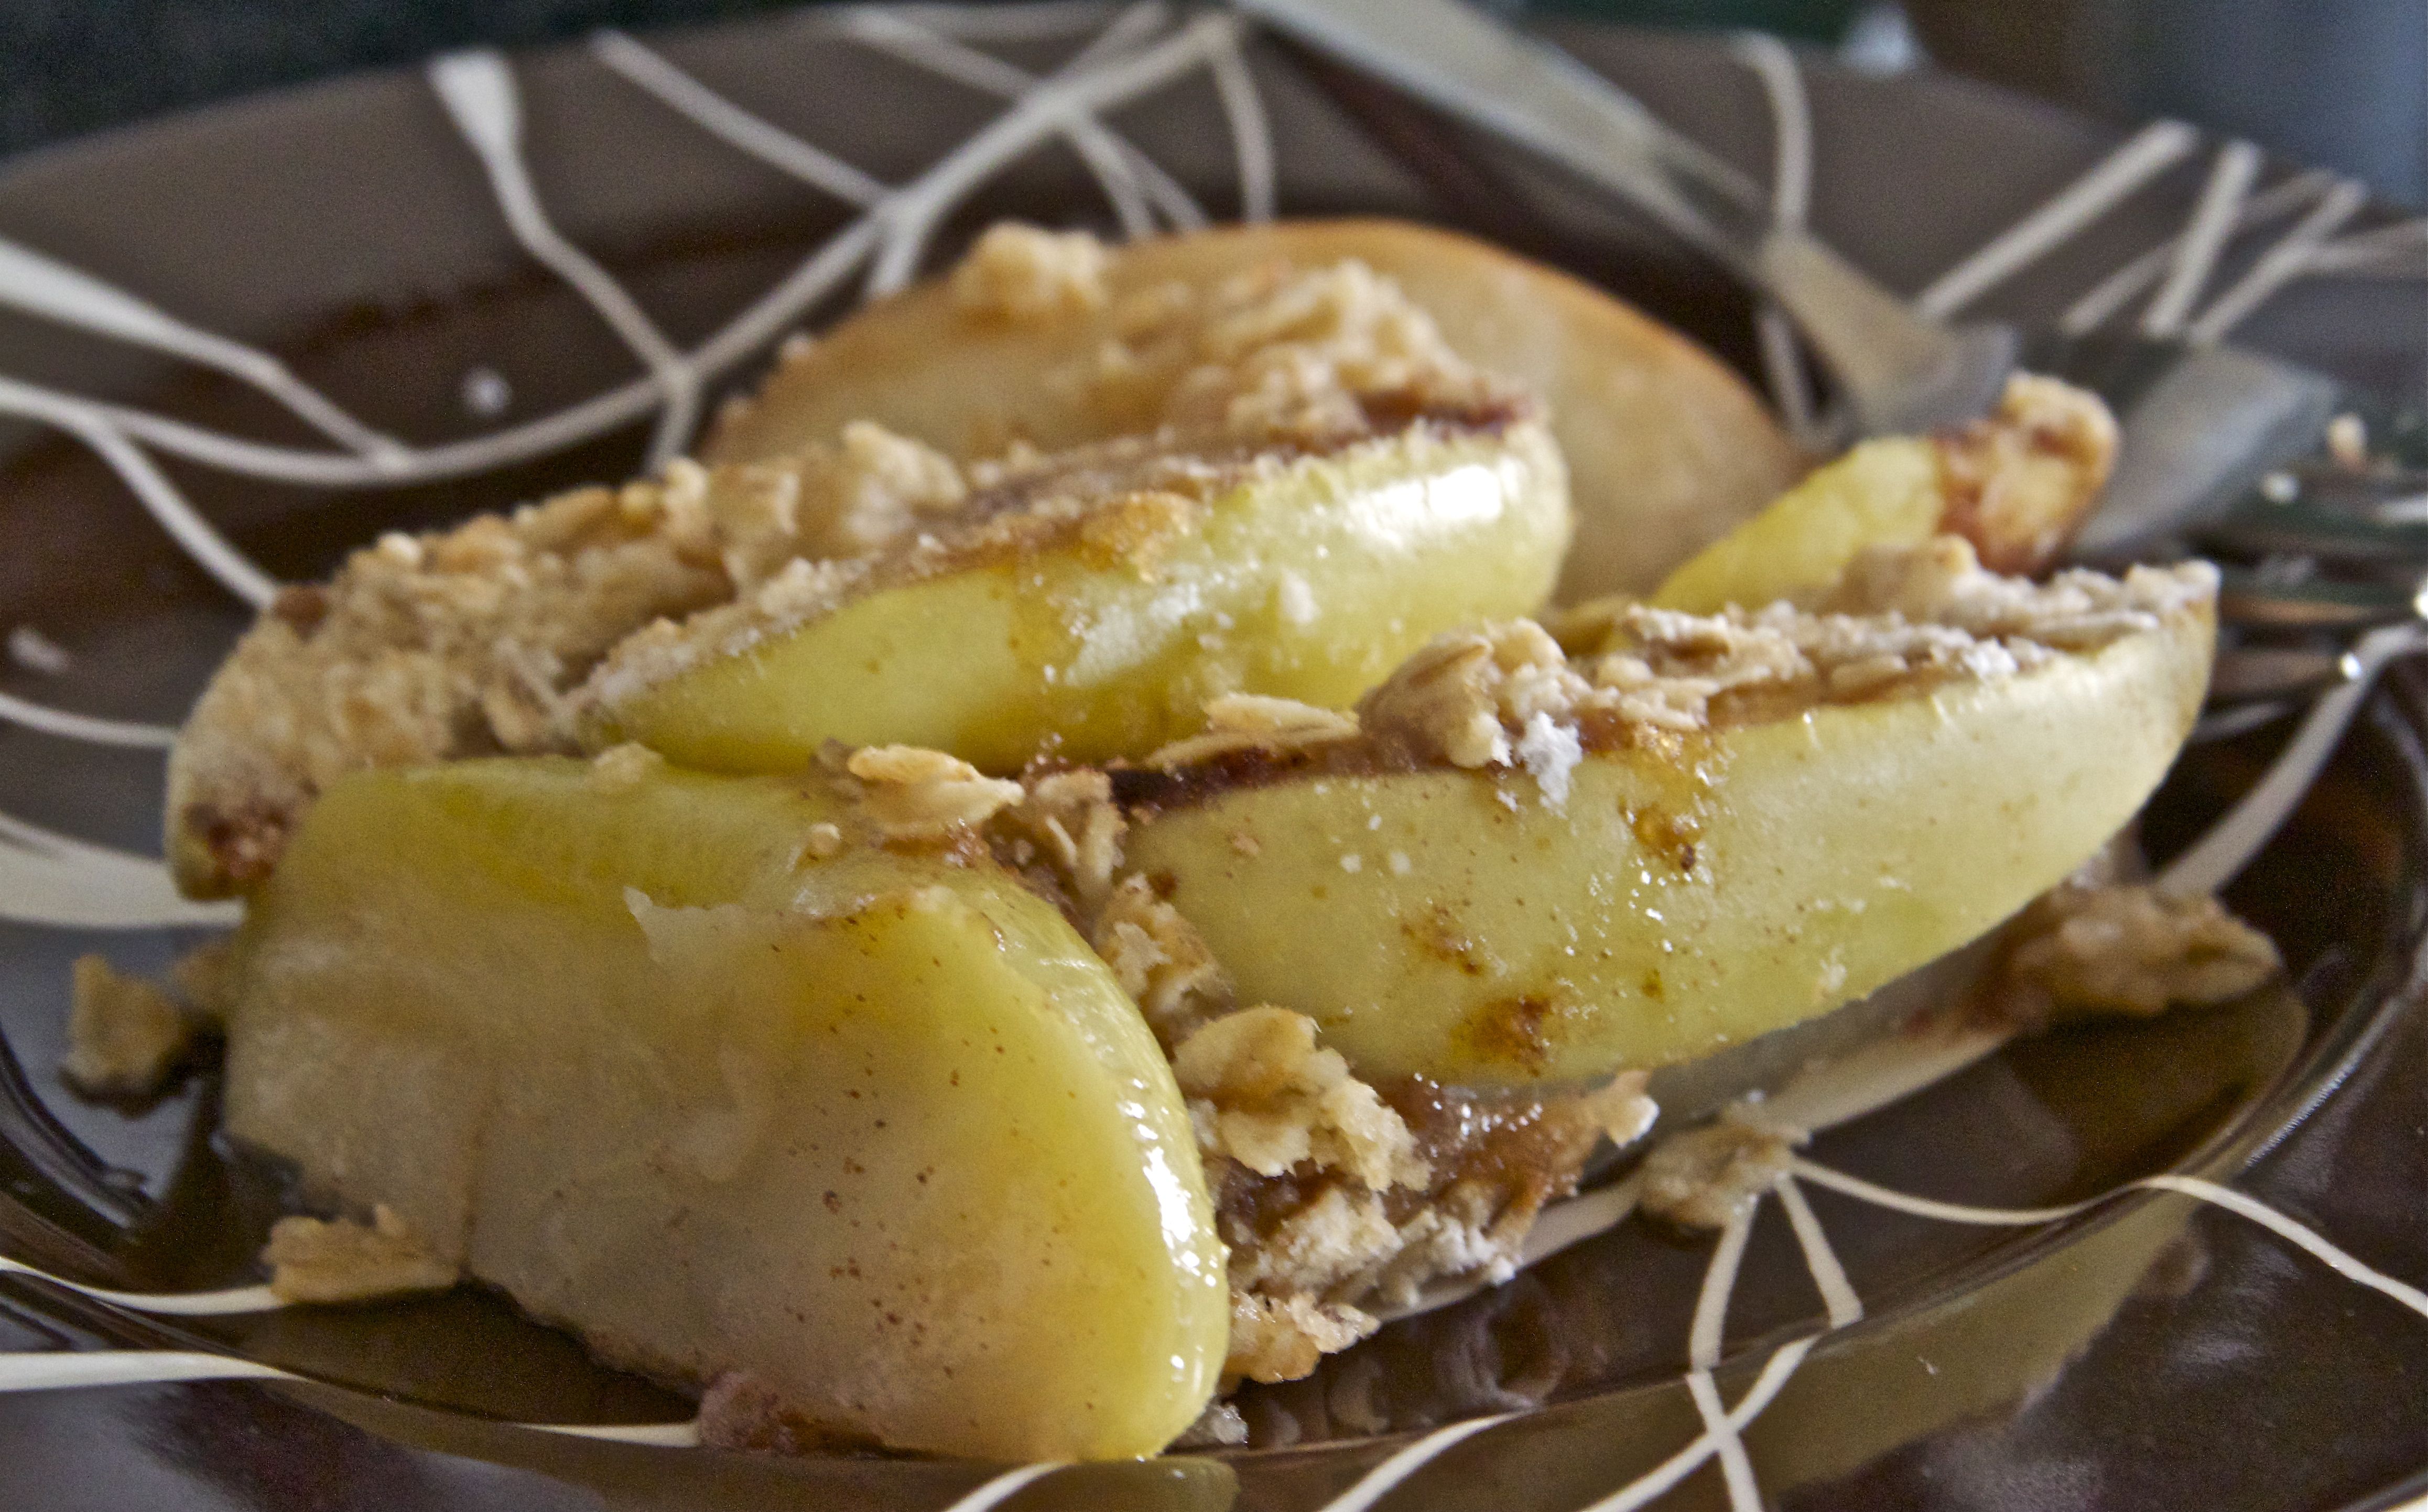
Peach & Apple Crumble
– serves 4 –
Ingredients:
2 apples, seeds removed and sliced (I used Gala, but you can use your favorite type)
2 peaches, pitted and sliced (I used white peaches, but same applies here – any kind will work)
2 Tbsp butter, cut into little pats (8 squares)
2 tsp flour
1 tsp brown sugar
1/2 tsp cinnamon
Pinch of salt
For Crumble:
1/4 cup flour
1/4 cup rolled oats
1/4 cup brown sugar
1 1/2 tsp butter, cut into little pats
Directions:
1. Preheat oven to 350 degrees
2. In a medium bowl, mix together the apple and peach slices, flour, sugar, cinnamon, and pats of butter.
3. Spray a a cake pan with cooking spray, and add in the fruit mixture.
4. In the same bowl you had the fruit, add the remaining flour, sugar, butter, and oats. Use a fork to mix everything together, slightly mashing the butter in the process. Sprinkle the crumble on top of the fruit.
5. Bake for 30-35 minutes or until the crumble is golden brown.