Veggie Packed Enchiladas

Just the other day I was counting how long I’ve been vegetarian, and it’s been 10 months! Sometimes it seems like it’s been much longer than that, and other times I’m so impressed with myself for still going strong. When I first made the switch to being a full-on vegetarian (I hadn’t been eating meat often for a year or two prior, but still had it once in awhile), people would often ask “why” and I never really had a good reason. While I still don’t enjoy people asking me “why,” as though I need to validate my choices, I’ve come to realize that it is definitely more of an ethical thing for me than not – I just hate the idea of seeing animals suffer or be hurt. I realize it’s the “circle of life” and how things go, but I’m not going to participate in something if I’m not comfortable with it! And don’t get me wrong, hamburgers are delicious so I understand and have no problem with you eating one, I just won’t eat one myself.

So why the blabbering about my vegetarian lifestyle choices? Well, I’ve found that there are so many dishes that seem to have meat in them “just because.” There are plenty of dishes where meat is the centerpiece and main focus, but there are also a lot of dishes that seem to include meat more as an accessory. I love the versatility of Southwestern food, because even though it can be very meat-centric, there is also plenty of wiggle room for vegetables (and beans)! I love Southwestern food for the flavors, too, but it’s great that it is something I can continue to enjoy as a vegetarian.

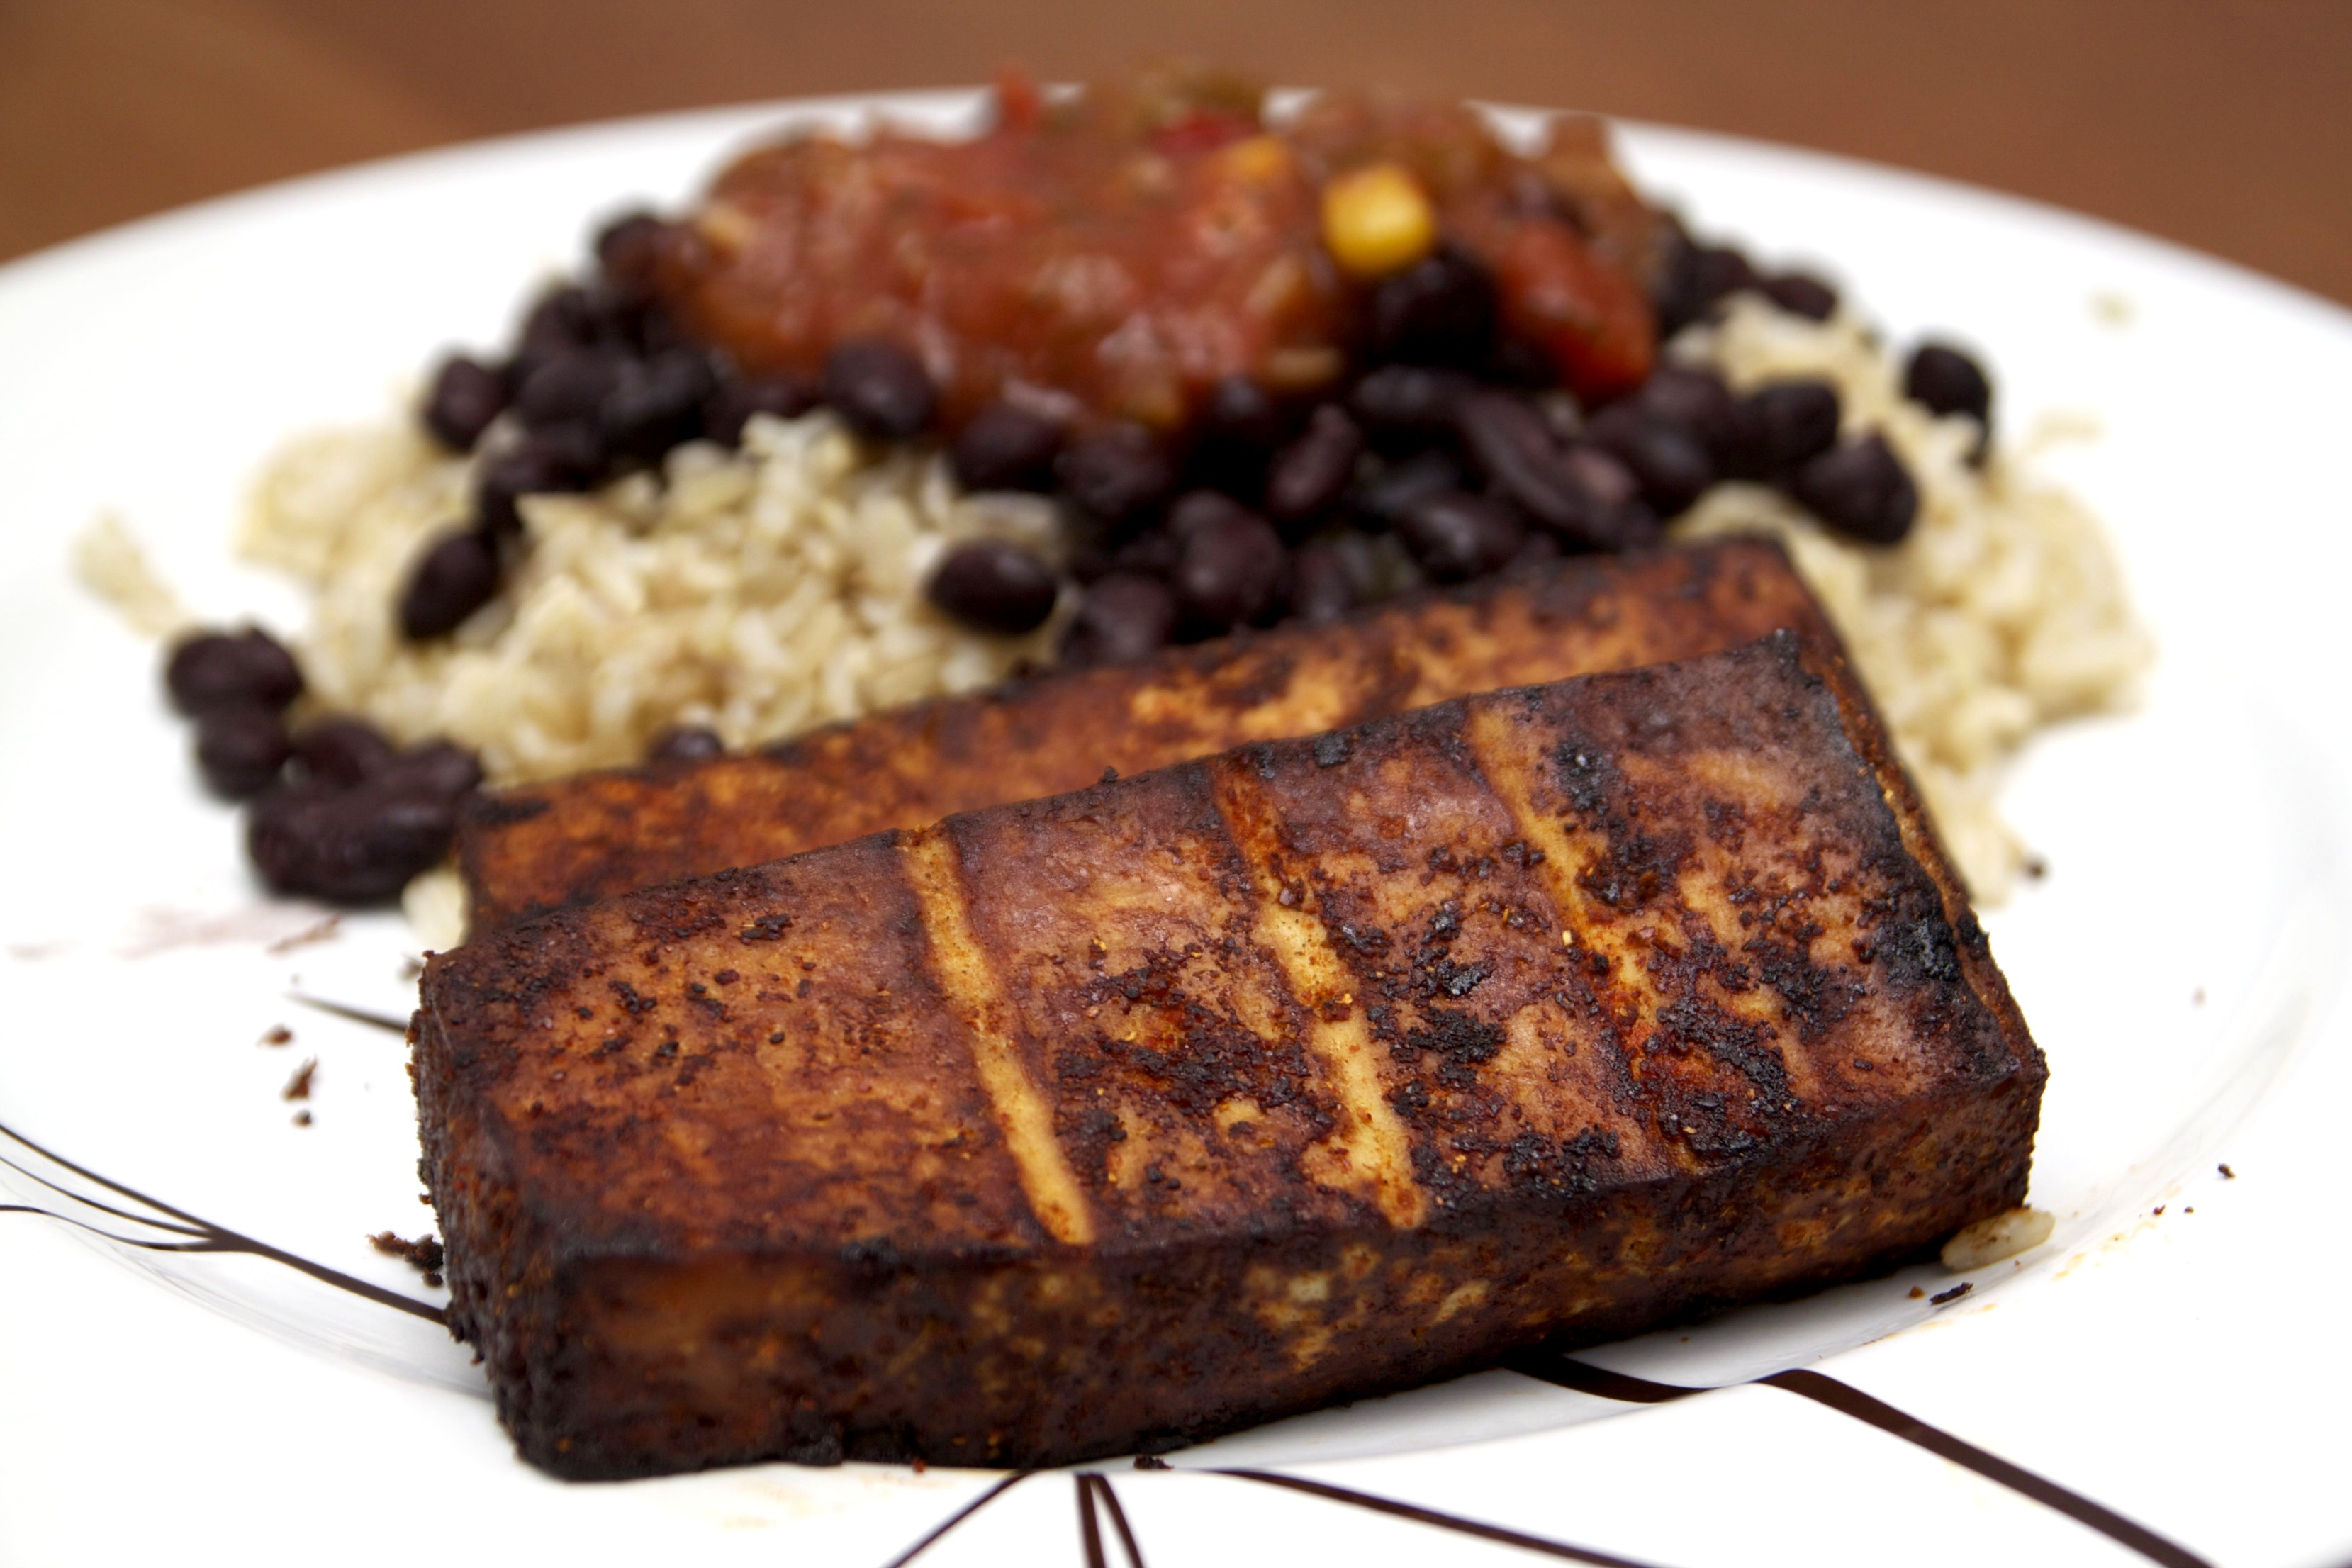
So with a hankering for enchiladas, I took a look at the CSA box ingredients I had for the week, and put together a pretty tasty, meat (and fake meat) free enchilada! I suppose you could say I cut corners by not using homemade tortillas or enchilada sauce, but the time and effort required for those two things in addition to the rest of the cooking just isn’t realistic for your average working, marathon training, zonked from the heat wave person. If you have the time, by all means, go for it… but if you don’t, I promise your dish will be just as tasty!

Sweet Potato, Kale, and Black Bean Enchiladas | FoodosaurusRex.com

Sweet Potato, Kale, and Black Bean Enchiladas
– Serves 4 –

Ingredients:
2 Tbsp oil
2 medium sweet potatoes, peeled and diced
1 large yellow onion, diced
3 scallions, diced
1 15 oz. can black beans, drained and rinsed
1/4 cup corn
1/2 bunch of kale, roughly chopped
2 Tbsp chili powder
1 Tbsp cumin
1 tsp Adobo
1/4 tsp paprika
2 Tbsp water
1/2 cup shredded cheese (I used Mexican blend)
6 fajita size flour tortillas
1 10 oz. can enchilada sauce

Directions:
1. Preheat the oven to 350 degrees.
2. In a large skillet, heat the oil over medium high heat. Add the onions and sauté for 2-3 minutes, or until the begin to become translucent. 
3. Add the cubed sweet potatoes, and sauté for another 3-5 minutes, until they begin to soften. 
4. Add the black beans and corn, followed by all of the spices (chili powder, cumin, adobo, and paprika). 
5. Begin to add the kale, a little bit at a time to allow it to wilt a bit and make room in the pan. As it’s wilting, add the 2 tablespoons of water to help deglaze the pan of the spices and aid in the wilting. Sauté until everything is combined and kale is slightly wilted, about 5 minutes. Remove pan from the heat. 
6. Pour 1/2 cup of the enchilada sauce in the bottom of an 8 x 11 dish. 
7. Take a tortilla and add three spoonfuls of the mixture to the center of the tortilla, and roll. You don’t need to roll it like a burrito (but you can); just roll it more like a taquito – it’s okay if some of the “guts” are coming out of the sides. Place it in the dish. Repeat for the remaining 5 tortillas, layering them next to each other, slightly overlapping. 
8. Top with the remaining sauce, the shredded cheese, and the scallions. 
9. Bake for 18 minutes. Serve with avocado or guacamole, and sour cream or Greek yogurt. 

Perfect Tofu

Of course on the same day I blogged about not having any good recipe ideas, I came up with what I’d like to think is a pretty decent tofu marinade. I know a lot of people aren’t tofu fans, but as a vegetarian, the big ‘ole block of soy is a really versatile way for me to get some extra protein. As long as you have a good marinade and cook it properly, I think it can be really delicious. Up until this point, my favorite was this Spicy Peanut Baked Tofu, which is easy, but not extremely versatile. I’ve never really used tofu outside of stir-fry styled dishes or egg replacements, but I’ve seen plenty of seasoned and marinated tofu “steaks” in stores, so I figured I would try my own.

One thing I’ve noticed in most vegetarian recipes that attempt to be meat replacements, is the use of soy sauce. So, I went to my pantry, grabbed a whole bunch of spices that I thought would go well together and soy sauce, and got mixing. This can be thrown together in a matter of minutes, and the beauty of a marinade is that the longer it sits, the better it winds up tasting. I served these tofu “steaks” with some brown rice, black beans, and salsa. I think it would probably be equally as delicious on a baguette with sautéed onions and peppers… I’ll definitely be trying that next!

TofuSteak2

Baked Tofu Steaks
– Serves 2 –

Ingredients:
1 package extra firm tofu
1/4 cup soy sauce
1 Tbsp liquid smoke
1 tsp chili powder
1 tsp garlic powder
1 tsp curry powder
1/4 tsp cayenne

Directions:
1. Preheat oven to 350 degrees.
2. Press the excess water out of the tofu (for at least 10 minutes). If you don’t have a tofu press, a big cookbook with the tofu between two plates will work – just make sure you have a towel under it! 
3. In a bowl, mix together all of the marinade ingredients (soy sauce, liquid smoke, and spices) and pour into a shallow baking dish or tupperware container.
4. Slice the tofu in half long-ways, and then in half again so you have 4 rectangular pieces.
5. Place the tofu in a single layer in the baking dish with the marinade, and let sit for 15 minutes. After 15 minutes flip to the other side, and allow it to sit for an additional 15 minutes.
6. Place the tofu on a greased baking sheet and bake for 30 minutes, flipping half way through.
7. Serve with rice and beans for a Southwestern flare, enjoy on a baguette, or by itself!

Cheesy Bake

I hope that everyone survived winter storm Nemo! I celebrated my mom’s birthday AND 6 month vegetarian anniversary on Friday by sitting inside anxiously awaiting the skies to open and dump snow on us. It was a welcomed day on the couch (working, of course) after taking an evening Bikram yoga class the night before. It was my first class, and since I bought a 30 class card, I will definitely be writing about it in the future! Despite the not-s0-great weather, I did make a mean mac ‘n cheese that I wanted to share.

So ridiculous
So ridiculous

[source]

For anyone that knows me, they know that menu planning is something I really enjoy doing; you can find me scouring the internet (mostly blogs and Pinterest) and cookbooks most days of the week looking for inspiration for meals weeks in advance. I’m usually thinking about my next meal before I’ve finished the one in front of me! I make the recipes as instructed a decent amount of time, but I often tweak a few things based on what I have in the house, or my personal taste preference. It usually isn’t enough of a change to warrant a blog post about it, but every once in awhile I do take a recipe and really make it my own, using the original more as a loose guide and inspiration. So, when I found Budget Byte’s Jalapeno Popper Mac ‘n Cheese, I knew immediately I was going to make it. I just didn’t know until about half way through that I was going to change a lot of it.

Baking macaroni and cheese is awesome. Who knew that adding a little bit of breadcrumbs and throwing it in the oven for a few minutes would add so much texture and flavor to such a simple kitchen classic! Using three different kinds of cheeses may seem like overkill to some, but to a cheese lover like myself, there’s no such thing as too much! The cream cheese definitely kicks this over the top (I need to cook with it more). This version isn’t spicy (to me), so if you want to kick it up a notch feel free to add more jalapeños or some other kinds of peppers. It’s a perfect recipe for a cold winter night (which we’ve been having a lot of recently), or to bring to a potluck. You won’t see this on any “skinny” or “diet friendly” lists, but it’s definitely something you should make and enjoy (in moderation of course).

MacsAndCheeses-001

Jalapeño Popped Baked Mac ‘n Cheese adapted from Budget Bytes
– Serves 4-6 –

Ingredients:
1 lb. pasta (elbow, spiral, etc.)
1 Tbsp oil
2 cloves of garlic, minced
1 1/3 cup milk
5 oz. cream cheese
1/3 cup parmesan cheese
1/2 cup plain Greek yogurt
2-3 jalapeños, diced
1 1/2 cups shredded cheese (any variety will work)
1/2 & 1/4 cups of Panko style bread crumbs

Directions:
1. Preheat oven to 350 degrees.
2. Bring a large pot of lightly salted water to a boil. Add the pasta and cook according to the package. 
3. As the pasta cooks, make your cheesy roux by combining the oil and garlic first in a sauce pan over medium-high heat, cooking for 1-2 minutes.
4. Next, add in the milk, parmesan cheese, and cream cheese. Cooking until the cream cheese is melted and everything is combined. Add the Greek yogurt and jalapeños. 
5. Drain the pasta, and add it back to the original pot. Pour the cheesy jalapeño mix and 1/2 cup of the Panko bread crumbs over the pasta and stir to combine. 
6. Fill a greased 9×9 baking dish with the macaroni and top with the remaining 1/4 cup of bread crumbs and shredded cheese. 
7. Bake for 15 minutes, or until the top is starting to brown. Let it sit for 3-5 minutes before digging in! 

Modifications

On Monday, I stayed home from work like almost everyone in the Northeast due to Sandy. Even though I was working from home, I made sure to make dinner early (I’m talking before noon) just in case the power went out as the storm approached later in the day (the oven is electric). I had Namely Marley’s Lentil Sloppy Joe’s on the menu, and since there were purple turnips in our Fresh Box, I thought I’d roast them as a side dish. I was able to make the sloppy joe’s no problem, so a few hours later I turned on the oven so it could pre-heat for the turnips.

Almost immediately I heard a crackling that sounded like something was burning. To my horror I looked through the oven’s window and saw bright white light… the makings of a fire. I immediately turned off the oven and blew out the flames, and stared in disbelief. Of course I was immediately annoyed that my oven would have the nerve to break during a storm, and wasn’t sure what to make instead. Since I love when my mom makes mashed turnips for Thanksgiving, I figured I’d attempt to put my own spin on them. This version is vegan, but it would be just as good with regular milk!

I can’t have a post about a recipe I made during Sandy without speaking of the storm itself. Thankfully, my townhouse kept power during the entire storm (though it did come and go a few times). It seemed like everyone around me (including my parents) lost power, and are still in the dark. I’m surrounded by the Raritan River, but thankfully am a little higher up. So, while everything around me seems to flood and lose power often, this is the third major storm I’ve weathered here and have made it out okay. Though, being surrounded by such damage means I can’t really get anywhere – but I’m okay with that. I’m keeping everyone in my thoughts and prayers, and sending a big thank you to everyone keeping us safe (police, fire fighters, nurses, doctors, EMT, etc.)!

But back the turnips. If you’re not a coconut fan, you can definitely use some EarthBalance (or if you aren’t vegan, regular butter). The coconut adds some extra flavor notes that I enjoyed, but I know of plenty of people who are not coconut fans, so butter will work just fine!

Vegan Mashed Turnips
– makes 3 cups –

Ingredients:
3 turnips, cubed
2 tsp coconut oil
1-2 Tbsp almond/soy/coconut milk (I used unsweetend)
1/4 tsp garlic powder
1/4 tsp paprika
Salt & pepper to taste

Directions:
1. Boil the cubed turnips for about 25 minutes, or until they are tender and can easily be pierced with a fork. 
2. Drain the turnips and return them to the pot. Add in the coconut oil, milk of choice, and spices. Using a manual masher (I have a great double masher from Crate & Barrel) or hand mixer on low, mix everything together to your preferred consistency  (I like to leave a little chunk). 

Quick Fried Rice

About a week ago, I mentioned on Twitter how much I love Trader Joe’s “Indian Fare” dishes. They sell them in the prepared foods aisle, and for $1.99 you can have yourself a super quick and easy meal; I’ve even blogged about my love affair with them before. The folks over at Tasty Bite saw my tweet, and offered to send me some of their own equally quick and easy Indian dishes. Always willing to try something new, I eagerly sent them my address and a few days later I had quite the variety pack on my hands!

I’ve sampled two of the three Indian dishes so far, the Chana Masala and the Jodhpur Lentils. While I’ve had Chana Masala before (it’s one of my favorite Indian dishes), I’d never tried Jodhpur Lentils. Both were really flavorful, and you can’t beat the 90 second cook time! In addition to the Indian styled dishes, I also received two kinds of rice – a package of basmati and a package of brown rice. I saved the basmati rice to pair with my last Indian dish, Punjab eggplant. At first I wasn’t sure what to do with the brown rice, but when I was trying to figure out what I could do with leftover carrots and scallions from my Fresh Box, I had a genius idea – fried rice!

At first, I didn’t think the fried rice was going to be blog worthy – I mean, it was just some brown rice mixed with a few vegetables, eggs, and some soy sauce. Sure, it’s simple, but it’s really good. I’m talking about the kind of good where you take a taste and eagerly look over at your dining partner to see their reaction. I think that’s my favorite part about cooking – seeing the reaction and getting feedback on things I’ve made. It’s always nice to hear when someone is extremely impressed with a dish you’ve made!

The beauty about this recipe is that it can really work with any type of vegetables that you deem appropriate, making it perfect for an end of the week “clean out the fridge” kind of meal. So feel free to get creative with your ingredients, and if you do, let me know what you use!

Quick Fried Rice
– Serves 2 as a main dish, 4 as a side –

Ingredients:
1 package Tasty Bite instant brown rice (or 2-3 cups of cooked brown rice)
1 small yellow onion, diced
2 medium sized carrots, diced
2 large eggs
4 scallions, diced
¼ cup soy sauce (I used ginger soy flavored for an extra kick of flavor)
2-3 Tbsp rice wine vinegar
2 Tbsp oil of choice (olive, canola, vegetable, or sesame will work)
Sriracha or other hot sauce for garnish

Directions:
1. Heat your oil of choice in a skillet over medium-high heat, and add your diced onion and diced carrot. Sauté for about 5 minutes, until the onion begins to look translucent. 
2.  Add in your soy sauce and rice wine vinegar and mix well. Crack in your eggs and constantly whisk them – your goal is to have a scrambled egg consistency. 
3. Once the onion and carrot is mixed with the egg and sauce, add in your  rice and scallions, stirring to combine.
4. Cook for an additional 5 minutes to ensure everything is heated through. Enjoy with some Sriracha or your favorite hot sauce!

Disclaimer: Tasty Bite sent me these entrées at no cost to me, and required nothing of me in return. Because I enjoyed the product so much, I decided to share it with you! All opinions and the recipe are my own.

Transition Chili

I always find myself with mixed emotions when summer comes to a close. It’s no secret that summer is my favorite season (it’s always been), but I don’t mind fall. In fact, there are a lot of things I do enjoy about fall, like cooler running temperatures, being able to wear boots and scarves, not working up a sweat while cooking, and Halloween!

I’m looking forward to this fall because it means I get to relax – at least a little. This summer has been packed with marathon training (even if it’s been half-hearted, it still takes up a lot of time!), and a LOT of weddings. Basically, I’m looking forward to not having to wake up at the crack of dawn to run because it’s too hot and I have a million things planned for the afternoon. Yes, I can’t wait to be lazy.

Aside from cooler temperatures and new fashion, there are foods that evoke the feelings of different seasons, too. One food that makes me think of cooler weather is chili (and soups in general). Even though it’s still technically summer (I can’t handle people saying things like, “it’s officially fall!” because it in fact, is not until tomorrow), I decided to deviate a bit from my “hang on to summer for as long as possible” mantra and made a pot of chili. For me, this wasn’t just any old batch of chili, though, rather it was more of a transition from summer to fall because of the ingredients – they’re light and colorful, but still provide that quintessential big bowl of chili feeling.

Veggie Grain Chili
– serves 4-6 –  

Ingredients:
1 Tbsp olive oil
1 yellow onion, diced
1 poblano pepper, diced
1 Tbsp chili powder
1 Tbsp cumin
1 tsp Adobo
1 tsp oregano
1 6 oz. can tomato paste
2 15 0z. cans of beans – I used black and pinto, but any combo will work! 
4 oz. soy chorizo (or regular chorizo)
1 sweet potato, peeled and diced (smaller pieces help it cook faster)
1 ear of corn (kernels removed)
18 oz. vegetable broth (about 1.5 cans)
1 cup dry cous cous or quinoa

Directions:
1. In a large soup pot, heat the oil over medium-high heat. Sauté onions and poblano pepper for for 5-10 minutes, until they’re translucent. 
2. Add in the spices (chili powder, cumin, Adobo, oregano), and tomato paste. Stir constantly, cook for an additional 2-3 minutes. 
3. Stir in beans, soy chorizo, sweet potato, corn, and vegetable broth. Turn heat down to medium, and cook for 5 minutes. 
4. Add in the grain, and cook for an additional 10-15 minutes, stirring every few minutes. 
5. Serve with avocado, cilantro, cheese, and/or sour cream! 

Southwestern Shepherd’s Pie

When my husband saw that I had “Shepherd’s Pie” on our dinner calendar for the week, he asked me what it was. After I gave him a general description, he immediately replied with, “and WHY haven’t you made this before?!” Of course, I didn’t have a good response, but promised that the dinner would be good… with my fingers crossed behind my back.

Yes, you read that correctly – I have a “dinner calendar.” I use Google Calendars; I have a bunch of my own personal calendars, as well as a few that are shared. Included in the list of shared is a dinner calendar, which allows me to plan out what we’re going to eat for the week based on our schedules, prepare a grocery list, and have a reference so I know what’s coming during the week. In our old apartment, we had a cute little whiteboard that I used to write it down on like a menu, but when we moved two years ago, I never hung it back up – so I switched over to Google instead. It may seem a little over the top, but it works for me. I’m a huge planner and I enjoy seeing everything scheduled and written out, even if I shuffle things around all the time.

While a typical Shepherd’s pie is made with meat, I left it out in my version (though I’m sure some ground beef, chicken, or turkey would go well here). I also decided to put a Southwestern twist on it since I’m obsessed with the flavors. The reason why I even thought of making this was due to the string beans we got in our CSA box. At first I figured I could just serve them as a side, but I wanted to do more with them. After trying to think of dishes they were included in and trying really hard not to just make a giant batch of green bean casserole for dinner, I settled on the Shepherd’s pie. So yes, this “Southwestern” version has green beans in it. I wasn’t sure if it would work for or against me with everything else (corn, black beans, salsa, etc.), but I’m happy to report everything played nice in the casserole dish.

The beauty of a Shepherd’s pie is that you can really throw in it whatever you have on hand, top it with mashed potatoes, and call it a day. Since I used instant mashed potatoes, everything came together in a matter of about 20-30 minutes. This was definitely a winner in my book, and I hope you think so too!

Southwestern Shepherd’s Pie
– Serves 4 –

Ingredients:
2 Tbsp oil
1 large onion, diced
2 jalapeños, diced (more or less depending on your heat preference)
1 1/2 cups corn (from about 2 ears)
1 15oz. can black beans, drained and rinsed
2 large tomatoes, diced
1-2 cups green beans/string beans (I used 2, and it was A LOT, so feel free to use less)
2 1/2 tsp chili powder
2 tsp cumin
1 tsp oregano
1 tsp Adobo
1/2 cup chunky salsa
1/2 cup shredded cheese
1 package of instant masshed potatoes (or about 2 cups)

Directions:
1. Preheat oven to 350 degrees.
2. Meanwhile, heat the oil over medium-high heat. Once heated, add diced onion and jalapeño, and sauté for about 5-10 minutes, until onions begin to become translucent. Add the spices and cook for an additional 2-3 minutes.
3. Once everything is well combined, add the corn, black beans, tomatoes, green beans, and salsa. Lower your heat to medium, and cook for 5-10 minutes, stirring every so often.
4. Meanwhile, prepare your instant mashed potatoes per the package directions (i.e. add 2 cups of water to the flakes, microwave for 2-3 minutes). Once the potatoes are done, add 1/4 cup of the shredded cheese. Set aside.
5. Add the mixture to a greased 8×8 baking dish. Top with the other 1/4 cup of shredded cheese, then spoon the mashed potatoes on top of that. 
6. Bake for 10-15 minutes, until mashed potatoes are set. 
 

Egg Love

Getting a CSA box each week has been such a treat – we pick up on Fridays, so I always look forward to the Thursday “newsletter” with a list of the week’s fruits and vegetables, as well as recipe ideas and tips for storing everything. Once I get that e-mail, it’s all about planning the week’s meals around the fruits and veggies. Most of the time I don’t have trouble coming up with uses for everything, but once in a while I’m stumped. Included in this week’s box (among other things) were some leeks and arugula that I wasn’t quite sure what to do with.

I’ve only cooked with leeks once before (though I absolutely love them), and have only had arugula in salads, on sandwiches, and in a few pasta dishes. Originally my thoughts were to keep the two vegetables separate – I didn’t want to blow through my CSA box before we were halfway through the workweek. The more I thought about it, though, the more I realized the two would pair well together alongside eggs.

Truthfully, I’m not usually a big egg fan. Blasphemy, perhaps, but I never really enjoyed them the way that so many people do (I’m talking in the “OMG I eat eggs every single day!” kind of way). Growing up I would have hard boiled eggs, but that was typically as far as my eggventures went (see what I did there?). Omelets were manageable for me too, as long as they were stuffed with veggies and had an equal ratio of cheese to egg. Eventually in college I realized eggs and omelets were my best option for breakfast, and I learned to love them with ketchup (again, a lot of people think it’s totally gross, and I did as well way before I would willingly eat eggs). Until recently, I would typically chose something without eggs over something with eggs, but they’re growing on me. Maybe it’s because I finally know how to cook them and use them with other flavors I enjoy, or my taste buds are changing, but I’ll take it either way.

Since I’m currently on the egg train, I’m going to ride it for as long as I can. Enter the leek and arugula frittata! The frittata is one of the easiest dishes out there, and it’s so incredibly versatile I don’t know why I only recently started making them (oh, right, because I’m not a big egg fan…). You really can throw almost anything into a cast iron skillet, saute it, top it with eggs, cook it a bit, and call it a day. Seriously – I basically just wrote out the recipe. Obviously for this frittata I used leeks and arugula, but a few weeks ago I made an equally awesome Swiss chard version. And the very first frittata I made had soy chorizo and kale in it (and it was called a strata, but whatever), and I dream about it, it was that good. Basically what I’m saying is get creative with your frittata – or give mine a try!

Leek and Arugula Frittata
– Serves 4 –

Ingredients:
2 Tbsp butter
8 eggs
2 leeks, diced (white parts only)
1 cup arugula, stems removed and diced
1 tomato, diced
1/4 cup shredded cheese (mozzarella, cheddar, a mix – whatever your heart desires)
1/4 cup crumbled feta (I used garlic and herb, but plain works too)
Salt & pepper to taste

Directions:
1. In a cast iron skillet, melt butter over medium-high heat. Add leeks and sauté for 10 minutes. Season with salt and pepper.
2. Meanwhile, beat the eggs in a medium bowl and dd in the cheese. Set aside.
3. Add in the arugula and tomato, and sauté for an additional 2 minutes until the arugula is wilted.
4. Meanwhile, preheat broiler on high.
5. Pour in the egg and cheese mixture and stir to make sure everything is combined. Using a spatula, lift the eggs on the edge of the skillet, tilting the pan to allow the egg mixture to drip to the edges. Continue doing this as it cooks for 10 minutes.
6.  Take the skillet and place it in the oven with the broiler on high, and cook for 3-5 minutes, until the top is golden brown.

Gluten Free Goodies

As I mentioned in my previous post, I’m trying out a gluten-free diet to see if that helps get rid of my GI-woes. I mean it when I say this isn’t necessarily a choice I wanted to make, but one that I felt was necessary in order to try and figure out once and for all what’s going on in my gut. That’s my new goal of 2012 – have a diagnosis and actually feel better by year’s end. So obviously in order for me to start this gluten free diet, I needed to make some quick changes in the kitchen.

I started out with a trip to Trader Joe’s, where I grabbed some necessities (for me). Since we get a CSA box each week, our grocery trips have resulted in picking up less items – just beans, grains, milk, yogurt, some type of snack and dessert, and miscellaneous fruits and veggies we need but didn’t get in our box.

My biggest concern was bread. I don’t usually have sandwiches at work, but I do have a peanut butter and jelly sandwich before most long runs. So I picked up a package of Udi’s bread, which tastes a lot more like freshly sliced bread, rather than sandwich bread. The slices are small and the price is high ($4.99), but if it means I can keep my pre-run routine, I’m okay with it. I don’t want to mess with perfection (good joke, my running is far from perfect).

In addition to bread, I wanted to find a pasta alternative; even though I don’t eat pasta too often, with marathon training kicking it up (20 miler is looming!), I wanted it (even if it’s more for my mental state than my body). So, I picked up some corn pasta, which my mom made a face at. Yes, I realize it’s weird, but at this point, I’ll try anything. I’ve also seen some black bean pasta and things like that around the blogosphere, so I’ll be on the lookout for any alternative.

In addition to lunch and dinner staples, I needed to find breakfast options. I typically eat breakfast at work, which involves some sort of cereal – I was used to the luxury of mixing it up each week. A lot of the labels I looked at didn’t blatantly say wheat was or wasn’t included, so I settled on a granola that was labeled gluten free. I found myself typing the same phrase over and over again in Google: “is X gluten free?” I can tell you I learned lot this past weekend! I would have automatically assumed oats weren’t gluten free, but some of them are. Of course the giant tub of steel cut oats I have at home isn’t gluten free, but I’m glad to know there are options out there (like the beloved Love Grown Foods, which I also picked up).

 Snacks were another big concern, since I usually have some type of cracker, fruit, and yogurt (spread throughout the day). While I didn’t need to worry about the fruit and yogurt, I needed to find a substitute for the crackers. I picked up a package of granola bars and rice crackers, and they’re both just okay. I know there are tons of options out there (I’m looking at you, delicious KIND bars), I just have to actually spend the money on them.

While the goodies I picked up should get me through the week, there is another equally important gluten free option I need to find… beer! Thanks to the suggestions of Twitter, I have a brand I’m planning on trying that my local liquor store seems to carry. I just have to cross my fingers that when I go, they have it. I also scored some gluten free pizza crust mix at Marshall’s of all places. The package says it makes two 14-inch pizzas, so I can’t wait to try it. I’m glad I can still enjoy pizza Fridays, gluten free style!

In my Googling frenzy over the weekend, I read mixed things about how long it could take to feel better, if you do in fact have a gluten intolerance. For some it’s a matter of two days, while for others it’s months. I’m thinking that I should see some difference within a week or two, and if not, it’s back to the drawing board. Maybe it’s just the time of year (I felt pretty bad around this time last year), or stress, or a combination of it all, and it really isn’t anything I am or am not eating. But the only way to know for sure is to try it. I mean, it can’t hurt (more).

Are there any other must-have gluten free foods I should try? 
I’m trying to stay away from overly processed foods, but am willing to try suggestions! 

My First CSA

A few months ago at a street festival in my hometown, one of the speciality fresh food stores, Alan’s Orchard, had a booth that I stopped by. In addition to picking up a loaf of pumpkin chocolate chip bread (which was SO good), I signed up to be on their CSA waiting list. I know a lot of other bloggers participate in CSAs that are local to them, but I found they were less common in suburban New Jersey than I liked. So even though I was only signing up for the waiting list, I crossed my fingers that someone would drop out, but didn’t get my hopes up.

Fast forward to July, and I got a call from the store that they had room for me in their “Fresh Box” program! Since we were on vacation when they called, I was afraid by the time I got back to them they would have already moved onto the next person. Thankfully they hadn’t, and I was able to pick up my very first box this past Friday. The program runs from May to December and provides you with a (giant) box of seasonal fruits and vegetables weekly (you can choose from three pick up days), and the box comes with a ton of information (instructions for the best storage, recipes, and general information on the fruits and veggies) all for $25! They also offer add-ins that you can purchase like farm fresh eggs, cheese, and other goodies. The store also partners with a local wine shop in town to offer weekly wine and beer selections, too! Needless to say this program is a veggie lovers dream.

This week’s haul included giant jalapeños, an eggplant, four ears of corn, tomatoes, two kinds of peaches, rainbow chard, pickle cucumbers, green cabbage, onions, and tomatillos. I typically meal plan mid-week and shop on Sunday or Monday for the week, but obviously now that I’ll be picking up these goodies every Friday, that has to change. I’ve got grand plans for it all, though. Sunday was grilled salmon with peach salsa, Monday was spicy mushroom and eggplant tacos with salsa verde, Tuesday was a rainbow chard frittata, and tonight is falafel in a cabbage wrap! You can bet I’ll be sharing the recipes soon. I can’t wait to see what each week brings!

Do you have a CSA program near you? Do you participate?